Exploring HDR Photography with Your Digital Camera
30 January 2025
Photography has come a long way since the days of film and darkrooms. Today, digital cameras have opened up a whole new world of possibilities, and one of the most exciting techniques you can dive into is HDR photography. Don’t get scared by the fancy acronym! HDR, or High Dynamic Range, is simply a method that allows your camera to capture a wider range of light and color details than a standard photo.
But how does it work? And more importantly, how do you get started with HDR photography using your digital camera? Well, let’s dive in and explore the ins and outs of this fascinating technique!

What Is HDR Photography?
Before we get into the nitty-gritty of how to shoot in HDR, let’s break down what it actually does. HDR photography is like giving your camera superhero vision. Imagine you’re standing in front of a breathtaking sunset: the sky is ablaze with vibrant reds and oranges, but the ground below is shadowed in darkness. A regular photo might either capture the beautiful colors of the sky but lose the details in the shadows, or expose the ground properly but wash out the sky into a white blob of light.HDR photography solves this problem by combining multiple exposures of the same scene—usually a dark, medium, and bright exposure—into one image that showcases both the highlights and shadows in all their glory. It’s like blending the best of both worlds!
How Does HDR Work?
Here’s the magic: when you take an HDR photo, your camera snaps multiple images of the same scene at different exposure levels. Typically, you’ll shoot at least three photos: one underexposed (to capture the details in the highlights), one properly exposed (for a balanced shot), and one overexposed (to bring out the details in the shadows).These images are then combined using software, either in-camera or through photo editing software like Adobe Lightroom or Photoshop. The result? A photo with a wider range of tones, from the brightest whites to the darkest blacks, preserving details in both.
The Role of Dynamic Range
Dynamic range is the difference between the lightest and darkest parts of an image. Your eyes are incredibly good at seeing a wide dynamic range—think about how you can look at a bright sky and still see details in the shadows. Unfortunately, cameras don’t have that same capability... yet. That’s where HDR photography steps in. It helps bridge the gap between what our eyes see and what our cameras can capture.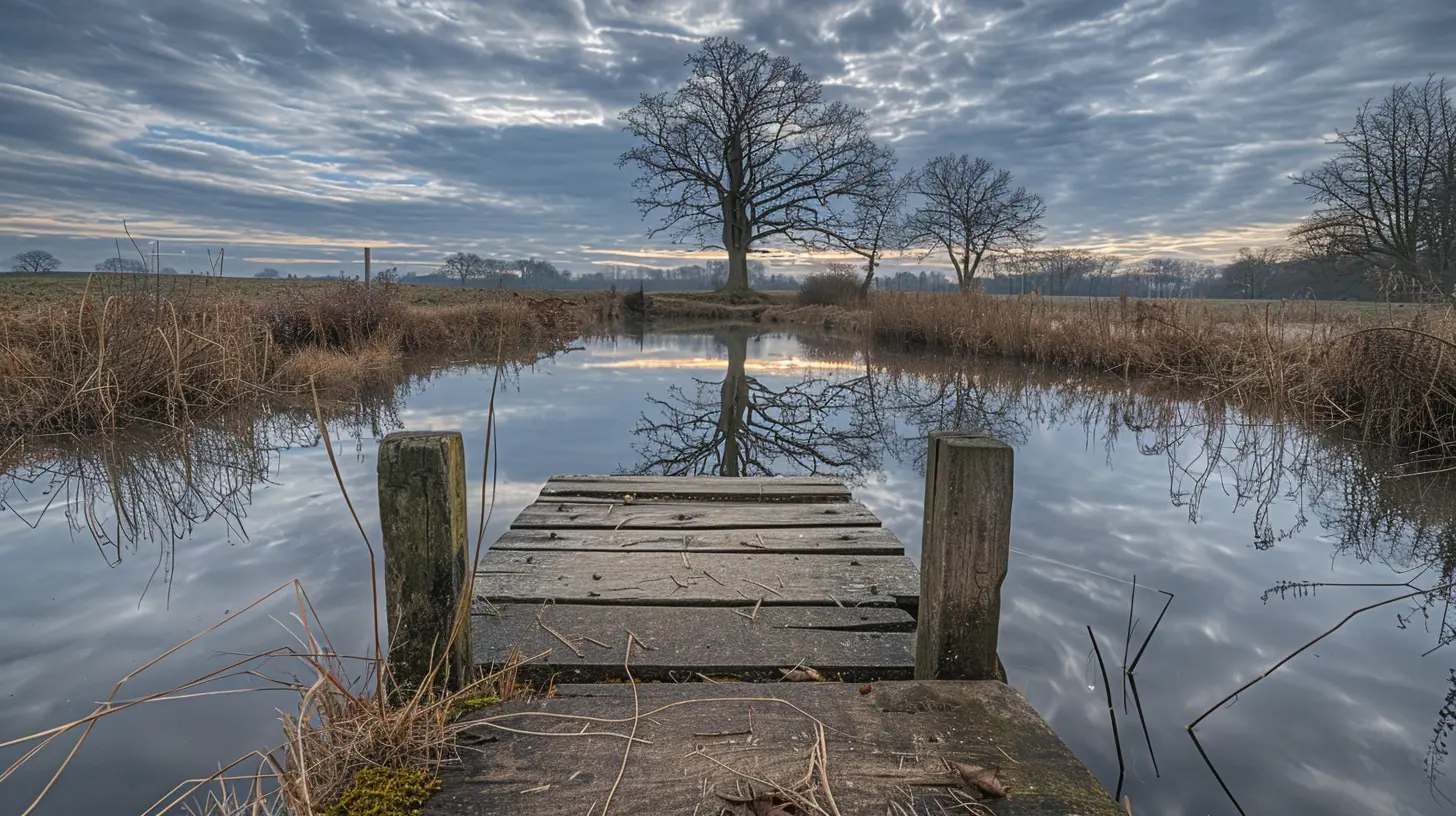
Why Should You Try HDR Photography?
So, why should you care about HDR photography? Well, if you've ever been frustrated by photos that don’t look as good as what you saw with your own eyes, HDR is your solution. It’s especially useful in situations where there’s a big contrast between light and dark areas, such as:- Sunsets or Sunrises: Think about the bright sky and dark foreground.
- Landscape Photography: Capturing both the sky and the land in detail.
- Interior Shots: Balancing bright windows with darker indoor areas.
- Cityscapes at Night: Highlighting the lights of buildings without losing details in the shadows.
In essence, HDR photography allows your photos to mirror the dynamic range of the real world, giving them a more realistic and vibrant appearance.

How to Shoot HDR Photos with Your Digital Camera
Now that you know what HDR is and why it rocks, let’s talk about how you can actually start taking HDR photos. Don’t worry, you don’t need to be a pro! With these steps, you’ll be capturing stunning HDR images in no time.1. Check If Your Camera Supports HDR
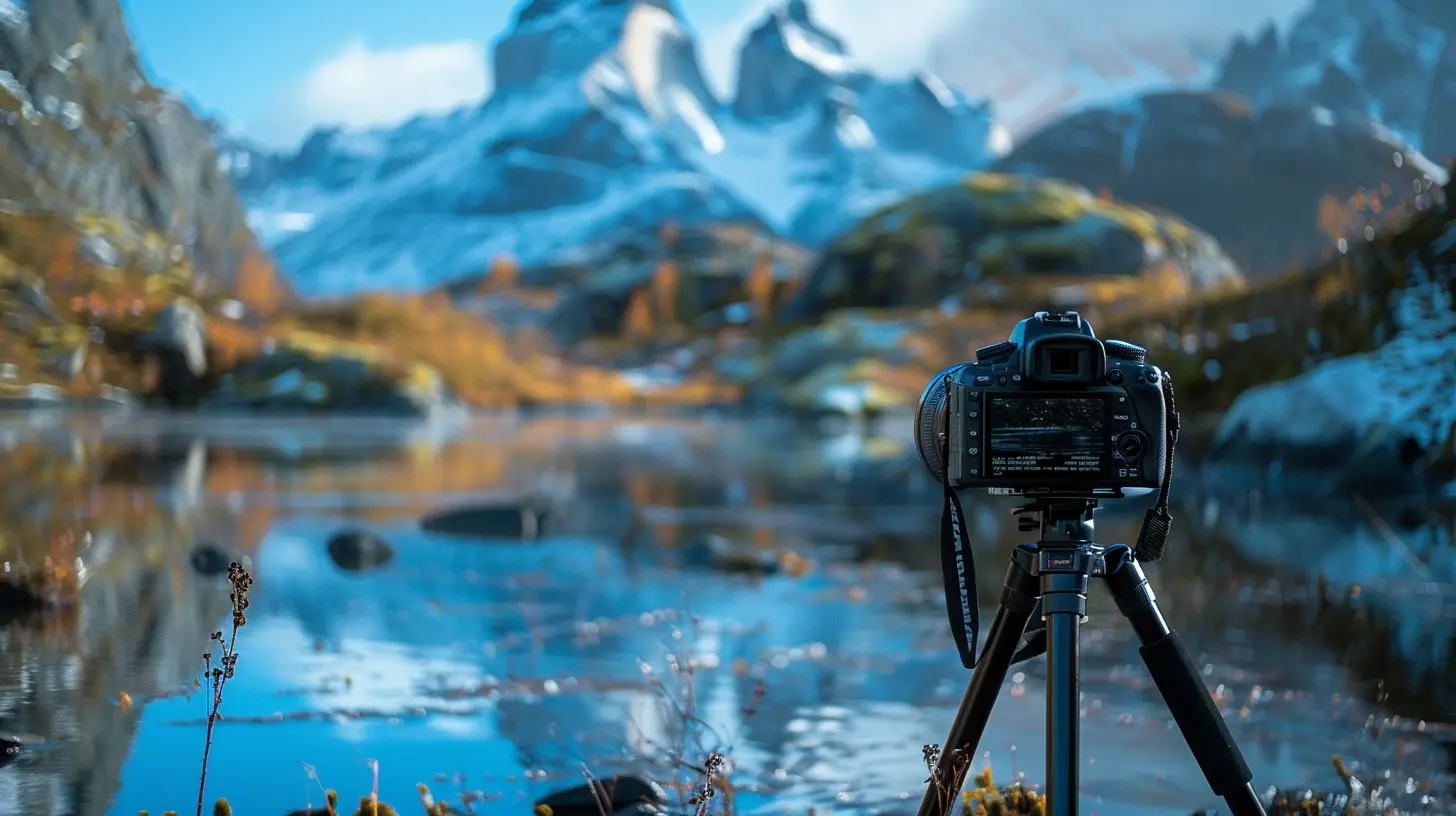
The first step is to make sure your camera has an HDR mode or the ability to manually adjust exposure settings. Most digital cameras today, even some smartphones, offer an HDR mode. If you're working with a DSLR or mirrorless camera, you’ll likely have more manual control over the process.2. Use a Tripod
One of the biggest challenges in HDR photography is keeping the camera perfectly still while you take multiple exposures. Even the slightest movement can make it difficult to combine the images later. A tripod is your best friend here. It ensures that all your shots are aligned perfectly, resulting in cleaner and more professional-looking HDR shots.3. Switch to Manual Mode or Exposure Bracketing
To capture the multiple exposures needed for HDR, you can either go the manual route or use your camera’s exposure bracketing feature.- Manual Mode: Set your camera to manual mode and take three separate shots—one underexposed, one correctly exposed, and one overexposed. You’ll adjust the exposure by changing the shutter speed, while keeping the aperture and ISO the same.
- Exposure Bracketing: Many digital cameras have a feature called exposure bracketing, where the camera automatically takes a series of photos at different exposures. All you have to do is press the shutter once, and your camera will do the rest.
4. Choose the Right Scene
HDR works best in scenes where there’s a wide range of light—think high-contrast environments. However, it’s not the best option for every situation. For example, HDR isn’t ideal for action shots or scenes with a lot of movement, as the multiple exposures can lead to ghosting (when parts of the image don’t align properly).Look for landscapes, cityscapes, or indoor scenes with lots of contrast between light and shadow for the best results.
5. Take the Photos
Once you’ve set up your camera and chosen your scene, it’s time to take the photos. If you’re using exposure bracketing, make sure your camera is in continuous shooting mode so that it takes all the exposures in quick succession. This reduces the risk of movement between shots.6. Merge the Photos
After you’ve taken your shots, the next step is to merge them into a single HDR image. Some cameras can do this automatically, but for more control, you’ll want to use software like Adobe Lightroom, Photoshop, or a dedicated HDR program.In your editing software, you can combine the exposures and adjust the strength of the HDR effect. Be careful not to overdo it—too much HDR can make your photos look unnatural and cartoonish.
Editing Your HDR Photos Like a Pro
Once you’ve merged your photos, the real fun begins—editing! Here are a few tips to help you get the most out of your HDR shots:1. Adjust the Tone Mapping
Tone mapping is the process of compressing the wide dynamic range of an HDR image so that it can be displayed on a standard screen. In simpler terms, it helps balance the highlights and shadows. Most HDR editing software comes with a tone mapping slider that lets you control how strong the HDR effect is.2. Tweak the Contrast and Saturation
HDR photos can sometimes look flat or washed out. Boosting the contrast can help add depth to the image, while increasing the saturation can make the colors pop. But again, moderation is key—overdoing these adjustments can make your photo look unnatural.3. Fix Any Ghosting
If anything in your scene moved between exposures—such as people or cars—you might notice a “ghosting” effect in your final HDR image. Some editing software has a de-ghosting tool that can help fix this issue.4. Sharpen the Image
HDR photos sometimes lose sharpness due to the merging process. A little bit of sharpening can go a long way in making your image look crisp and detailed.
Common Mistakes to Avoid in HDR Photography
While HDR photography can produce stunning results, it’s easy to go overboard. Here are a few mistakes to watch out for:- Over-processing: Too much HDR can make your photos look surreal or fake. Aim for a natural look by not pushing sliders to the extreme.
- Ignoring the Subject: HDR is a tool, not a style. Make sure you’re still focusing on composition, lighting, and your subject, rather than just the HDR effect.
- Using HDR for the Wrong Scenes: HDR doesn’t work well for every situation. Avoid using it for fast-moving subjects or scenes that don’t have a lot of contrast.
Conclusion
HDR photography can breathe new life into your photos by capturing the full range of light and color in a scene. It’s a powerful tool that lets you overcome the limitations of your camera and produce stunning images that more accurately reflect what your eyes see. Whether you’re shooting landscapes, cityscapes, or interiors, HDR can help you bring out the details in both the highlights and shadows, creating more dynamic and engaging photos.So grab your digital camera, head out into the world, and start experimenting with HDR photography. Who knows? You might just discover a whole new way of seeing the world through your lens.
all images in this post were generated using AI tools
Category:
Digital CamerasAuthor:

Michael Robinson
Discussion
rate this article
21 comments
Damian Jordan
This article brilliantly demystifies HDR photography, highlighting its potential to enhance dynamic range and detail. The practical tips for capturing stunning images are invaluable, making it easier for both beginners and seasoned photographers to elevate their work. Well done!
February 21, 2025 at 11:20 AM
Michael Robinson
Thank you for your kind words! I'm glad you found the tips helpful for both beginners and seasoned photographers. Happy shooting!
Grey McVey
This article offers a solid introduction to HDR photography. The tips on capturing dynamic range and post-processing techniques are particularly helpful for beginners. Just remember, subtlety is key—overdoing HDR can lead to unnatural results! Great read for aspiring photographers!
February 19, 2025 at 7:17 PM
Michael Robinson
Thank you for your thoughtful feedback! I'm glad you found the tips helpful and agree that subtlety is crucial in HDR photography. Happy shooting!
Aurelia Hubbard
Unravel the secrets of HDR photography: a world where shadows dance and light whispers. What hidden details might your camera reveal when you bridge the gap between reality and imagination?
February 18, 2025 at 1:06 PM
Michael Robinson
HDR photography unveils a stunning interplay of light and shadow, revealing intricate details often lost in standard images. By combining multiple exposures, you can capture a scene's full dynamic range, bridging reality and imagination for breathtaking results.
Ainsley Henson
Finally, a way to make my blurry photos artsy!
February 17, 2025 at 9:57 PM
Michael Robinson
Glad you found it helpful! HDR can definitely add an artistic flair to your photos. Enjoy experimenting!
Ava McRae
Capture brilliance—elevate your photography to new heights!
February 17, 2025 at 4:05 AM
Michael Robinson
Thank you! I'm excited to share insights on HDR photography that can truly enhance your skills and creativity.
Delta McTiernan
Embrace the vibrant world of HDR photography! Discover how to elevate your digital images, capturing stunning details and vivid colors. Unleash your creativity and transform ordinary moments into extraordinary visual stories!
February 16, 2025 at 12:07 PM
Michael Robinson
Thank you for your enthusiasm! HDR photography truly opens up a world of creative possibilities, allowing us to capture the beauty in every moment. Happy shooting!
Niko McPherson
Great insights! HDR photography truly enhances dynamic range and image depth.
February 14, 2025 at 12:52 PM
Michael Robinson
Thank you! I'm glad you found the insights helpful. HDR really does elevate photography!
Xavier Jordan
HDR photography opens new dimensions in capturing reality, allowing us to blend light and detail in stunning ways. Embrace experimentation—each shot can reveal unique stories and emotions within the frame.
February 13, 2025 at 9:57 PM
Michael Robinson
Thank you! I completely agree—HDR photography indeed unlocks incredible storytelling potential by blending light and detail. Embracing experimentation is key to capturing those unique moments.
Sylvan Monroe
HDR photography enhances dynamic range, allowing for more vivid images. This technique is essential for capturing intricate details in varied lighting.
February 11, 2025 at 9:22 PM
Michael Robinson
Thank you! I'm glad you recognize the importance of HDR photography in enhancing dynamic range and capturing details in challenging lighting conditions.
Zanya McClellan
Why did the pixel refuse to play hide and seek? Because it couldn't handle the dynamic range! Dive into HDR photography and unleash your camera’s wild side – it’s a visual party you won't want to miss!
February 10, 2025 at 4:04 AM
Michael Robinson
Great pun! HDR photography truly brings out the vibrant details in every shot, making it a fun and rewarding experience. Let's dive into those techniques!
Oriel Montgomery
HDR photography: where your camera becomes a magician, blending light and shadows like a pro! Just remember, if your friends start squinting, it might be time to dial down the drama. 📸✨
February 7, 2025 at 4:34 AM
Michael Robinson
Great point! HDR can enhance dramatic effects, but balance is key for optimal viewer experience. Thanks for sharing! 📸✨
Wolf Ward
Unlock the hidden depths of your digital captures. HDR photography isn’t just about brightness; it’s a journey into unseen details and haunting contrasts. What secrets lie in the shadows waiting to be revealed?
February 5, 2025 at 7:59 PM
Michael Robinson
Thank you for your insightful comment! HDR photography truly does unveil the intricate details and contrasts that make each scene unique. It's all about exploring those hidden nuances in our digital captures.
Solstice Sawyer
Jump into HDR photography! It’s a fun way to elevate your skills and creativity—enjoy the journey!
February 5, 2025 at 12:38 PM
Michael Robinson
Thank you! HDR photography truly enhances creativity and offers a wonderful way to develop skills. Enjoy the journey!
Zadie Hamilton
This article sparks my curiosity! How does HDR photography truly enhance a digital image, and what settings should beginners start with for optimal results?
February 5, 2025 at 4:14 AM
Michael Robinson
Thank you for your interest! HDR photography enhances images by capturing a wider range of light, resulting in better details in highlights and shadows. Beginners should start with settings like bracketing exposure at 1-2 stops apart, using a tripod for stability, and experimenting with post-processing software to blend the images effectively. Happy shooting!
Soliel McClure
Ready to take your photography to the next level? Dive into the vibrant world of HDR! It's like giving your photos a double shot of espresso – bright, bold, and bursting with life! Get snapping and let those colors pop like never before!" 📸✨
February 4, 2025 at 7:15 PM
Michael Robinson
Absolutely! HDR photography really can transform your images, adding depth and vibrancy. Let's explore this exciting technique together! 📸✨
Remington McPherson
Unlock your camera's potential—HDR transforms your photography!
February 4, 2025 at 4:42 AM
Michael Robinson
Thank you! HDR truly enhances dynamic range, bringing photos to life with rich detail and color.
Nicole Bowers
Just like a raccoon raiding a picnic, HDR photography gobbles up all the light! Dive in, and let your camera feast on vibrant colors and wild contrasts. Happy snapping!" 📸✨
February 3, 2025 at 4:19 AM
Michael Robinson
Absolutely! HDR photography truly captures the dynamic range of light, enhancing colors and contrasts for stunning visuals. Happy shooting! 📸✨
Orionyx Underwood
Embrace the vibrant world of HDR photography! Your digital camera is a powerful tool that can transform ordinary scenes into breathtaking masterpieces. Dive in, experiment, and let your creativity shine—each shot is a step toward mastering this incredible art form!
February 1, 2025 at 9:23 PM
Michael Robinson
Thank you for your enthusiasm! HDR photography truly offers a unique way to capture and enhance the beauty of our surroundings. Happy shooting!
Cruz McGee
HDR photography really brings out the beauty in everyday moments! I love how capturing the perfect balance of light and shadow can transform a simple scene into something truly breathtaking. Can't wait to try these tips!
February 1, 2025 at 3:39 AM
Michael Robinson
Thank you! I'm glad you enjoyed the article. I can't wait to see how your HDR photos turn out! Happy shooting!
Astoria Wilkins
Embrace the beauty of HDR photography! With your digital camera, you can capture stunning images that showcase the world's vibrant colors and dynamic range. Happy shooting!
January 31, 2025 at 8:22 PM
Michael Robinson
Thank you! HDR photography truly enhances the beauty around us, and I'm excited to share tips for capturing those vibrant moments. Happy shooting to you too!
Blair McLain
Great insights on HDR photography! Excited to try these techniques with my digital camera!
January 30, 2025 at 11:47 AM
Michael Robinson
Thank you! I'm glad you found the insights helpful. Enjoy experimenting with HDR photography!
MORE POSTS

Energy-Efficient Building Materials: Paving the Way for Green Construction

The Latest in Offshore Wind Farms: A Deep Dive

The Role of AI in Advancing Green Technology

Bootstrapping Your Tech Startup: What You Need to Know

Exploring the Psychological Effects of Long-Term Virtual Reality Use

How Wearables are Pushing the Boundaries of Sustainable Health Tech

Virtual Reality Tools That Are Shaping the Future of Content

Green Computing: Reducing Energy Consumption in Data Centers

Best Travel Gadgets for Digital Nomads

Robots in Agriculture: Changing the Future of Farming

How Templates and Presets Can Revolutionize Your Content Workflow

Gadgets for Enhancing Your Road Trip Experience

The Potential of Tidal Energy: Harnessing the Power of the Oceans