How to Use Your Digital Camera for Time-Lapse Photography
16 December 2024
Time-lapse photography is one of those cool techniques that can turn an ordinary scene into a mesmerizing visual story. Whether it’s capturing the movement of clouds, the hustle and bustle of a city, or the bloom of a flower, time-lapse can add that extra bit of magic to your photography. But it’s not just about pointing your digital camera at something and hoping for the best. There’s a bit of science (and a lot of patience) involved.
If you’ve ever wondered how to make your own time-lapse videos, you’re in the right place. This guide will show you how to use your digital camera for time-lapse photography, even if you're just getting started.

What is Time-Lapse Photography?
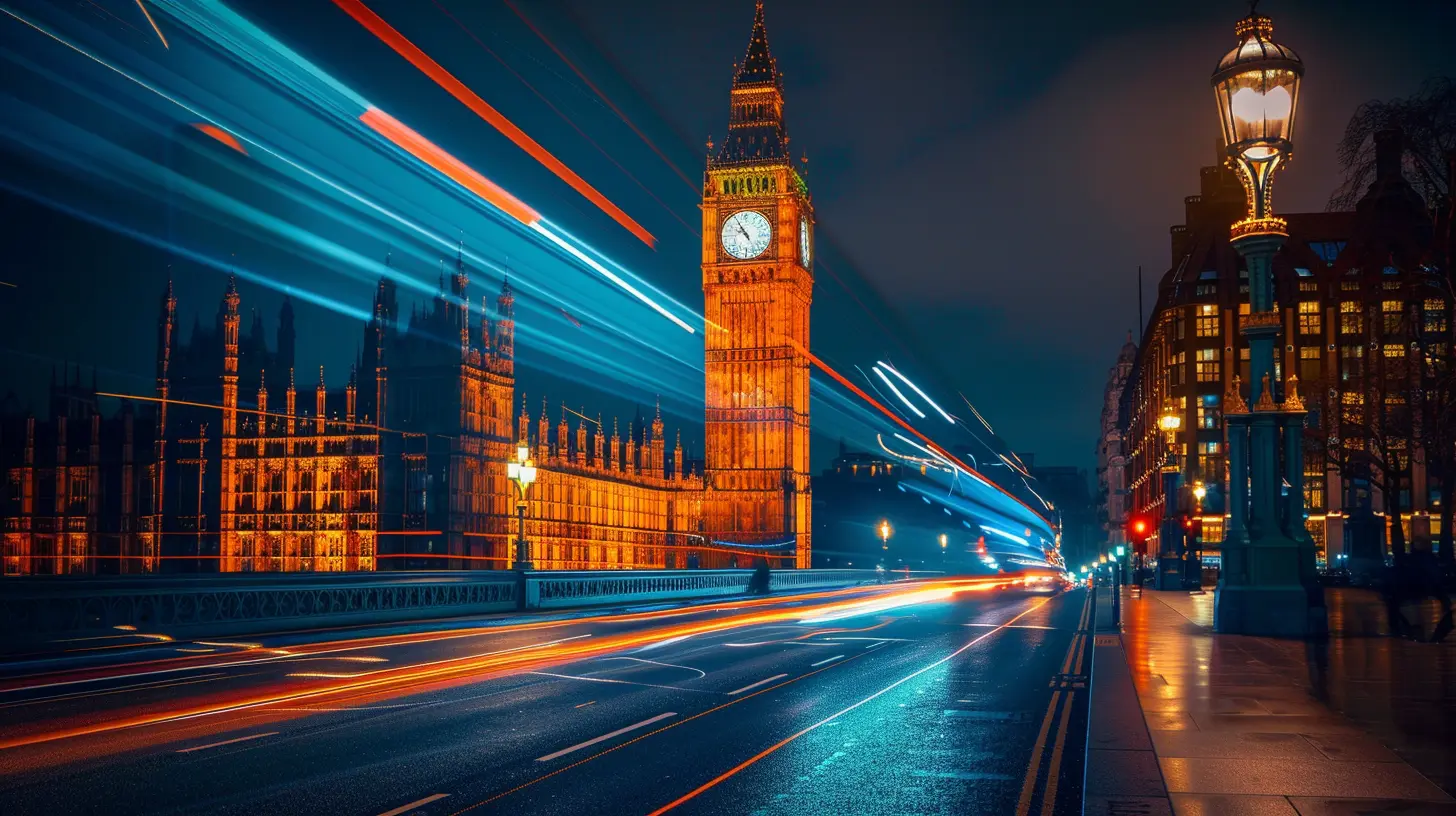
Before we dive into the nitty-gritty, let's start with the basics. Time-lapse photography is a technique where a series of photos are taken at consistent intervals over a long period of time. Then, when these images are played back at a faster frame rate, it looks like the scene is moving rapidly. Think of it like a sped-up video, but with carefully shot stills instead of continuous footage.In simpler terms, it’s like watching hours of footage condensed into just a few seconds or minutes. It’s an awesome way to compress time and show changes that happen too slowly for us to notice in real life.
Why Time-Lapse Photography is So Awesome
Okay, so time-lapse isn’t a new thing, but why is it still so popular? Well, it’s because time-lapse photography lets you capture the essence of time itself. Some things, like the shift from day to night or the growth of a plant, are just too slow for our eyes to perceive in real time. With time-lapse, you can show these changes in a matter of seconds.Plus, it’s like a superpower for your camera. With time-lapse, you can transform ordinary scenes into cinematic masterpieces. Whether you’re a hobbyist or a pro, it’s a great technique to have in your toolkit. And the best part? You don’t need fancy, expensive equipment to get started.
What You Need for Time-Lapse Photography
Alright, let’s talk gear. The good news is, you don’t need a Hollywood-level setup to create stunning time-lapse videos. You probably have most of what you need already. Here's a list of essentials:1. Digital Camera
You’ll need a camera that allows you to shoot in manual mode and has time-lapse capabilities (or an intervalometer – more on that later). DSLRs, mirrorless cameras, and even some advanced point-and-shoots work great for this.2. Tripod
A stable tripod is essential. Time-lapse requires your camera to remain completely still throughout the shoot. Even the slightest movement can ruin the final video. If you shake the camera, even a little, your time-lapse will look jittery.3. Intervalometer
If your camera doesn’t have a built-in time-lapse feature, you'll need an intervalometer. This is a device that connects to your camera and triggers the shutter at set intervals. Essentially, it tells your camera when to take the next photo without you having to press the shutter manually every time.4. Extra Batteries and Memory Cards
Time-lapse photography can take hours, so make sure you have enough juice and storage. Nothing’s worse than your camera dying right in the middle of a shoot. Pack extra batteries and memory cards, especially for longer sessions.5. ND Filters (Optional)
If you’re shooting during the day in bright conditions, a neutral density (ND) filter can help. It reduces the amount of light that enters your camera, allowing you to use slower shutter speeds without overexposing your shots.
Step-by-Step Guide to Time-Lapse Photography
Alright, now that you’ve got your gear ready, it’s time to get into the actual process of shooting a time-lapse. Don’t worry, it’s not as complicated as it sounds. Follow these steps, and you’ll be creating time-lapse videos like a pro in no time.1. Choose Your Subject
First things first—figure out what you want to capture. Time-lapse works best with subjects that change over time. Here are a few ideas to get your creative juices flowing:- Clouds moving across the sky
- A sunset or sunrise
- Traffic on a busy street
- A flower blooming
- Waves crashing on the shore
- The stars at night
Basically, anything that moves or changes over time is a good candidate for time-lapse.
2. Set Up Your Camera
Once you’ve chosen your subject, find a good spot and set up your tripod. The camera needs to stay absolutely still during the entire shoot, so make sure it’s secure. Trust me, you don’t want to knock it over halfway through.3. Frame Your Shot
Think about composition. Just like with regular photography, composition is key in time-lapse. Make sure your subject is framed well and that you have enough room in the shot for any movement to happen. For example, if you're capturing a sunset, make sure you leave enough sky in the frame for the colors to change.4. Switch to Manual Mode
Time-lapse photography is all about consistency. You don’t want your camera’s settings to change halfway through the shoot. That’s why it’s important to switch to manual mode for both exposure and focus.- Exposure: Set your ISO, aperture, and shutter speed manually. You’ll want a consistent exposure throughout the shoot. A good starting point is ISO 100, with an aperture between f/8 and f/11.
- Focus: Set your focus manually to avoid the camera trying to refocus between shots.
5. Determine the Interval
This part can get a little tricky, but it’s crucial for a good time-lapse. You need to choose how often your camera will take a photo—that’s your interval. The interval depends on how fast your subject is moving.- For fast-moving subjects (like traffic), use a shorter interval (1-2 seconds).
- For slow-moving subjects (like clouds or a sunset), use a longer interval (5-10 seconds).
6. Calculate the Total Number of Shots
To figure out how many shots you need, decide how long you want your final time-lapse video to be. Most time-lapse videos are played back at 24 or 30 frames per second (fps). So, if you want a 10-second video at 30 fps, you’ll need 300 shots (10 seconds x 30 fps = 300 shots).Now, divide the total shooting time by the number of intervals. For example, if you’re shooting for 2 hours with a 5-second interval, that’s 720 shots (120 minutes x 60 seconds ÷ 5 seconds = 720 shots). Make sure you have enough memory and battery life for all those shots!
7. Start Shooting
Once everything is set up, start the intervalometer (or the built-in time-lapse mode on your camera) and let it do its thing. Now’s the time to be patient. Time-lapse photography is a waiting game. Grab a coffee, listen to a podcast, or just enjoy the view while your camera works its magic.8. Post-Processing
After your shoot, you’ll have a bunch of individual photos. The next step is to stitch them together to create a video. You can use editing software like Adobe Premiere Pro, Final Cut Pro, or even free tools like iMovie or DaVinci Resolve for this.Most editing software will allow you to import your photos as an image sequence, which automatically turns them into a video. From there, you can tweak the speed, color grade, and add music if you want.
Tips for Stunning Time-Lapse Videos
Now that you know the basics, here are a few extra tips to help you make your time-lapse videos even better:- Shoot in RAW: This gives you more flexibility in post-processing, allowing you to adjust exposure, contrast, and color.
- Use a Remote Shutter Release: If your camera doesn’t have a built-in intervalometer, a remote shutter release can help you avoid camera shake when taking photos manually.
- Be Mindful of Weather: If you’re shooting outdoors, keep an eye on the weather. A sudden rainstorm can ruin your gear and your shoot. On the flip side, changing weather can add drama to your time-lapse.
- Experiment with Light: Light is key in any form of photography, but in time-lapse, it can make or break your video. Try shooting during the golden hour for stunning results.
Conclusion
Time-lapse photography might seem intimidating at first, but once you understand the basics, it’s an incredibly rewarding technique. With the right gear, some patience, and a bit of practice, you’ll be capturing the magic of time in no time (pun intended). So, grab your camera, find a scene that inspires you, and start shooting!Happy time-lapsing!
all images in this post were generated using AI tools
Category:
Digital CamerasAuthor:

Michael Robinson
Discussion
rate this article
21 comments
Theo Hensley
Great tips for stunning time-lapses!
February 10, 2025 at 4:04 AM

Michael Robinson
Thank you! I'm glad you found the tips helpful! Happy shooting!
Harlow Acevedo
This article expertly demystifies time-lapse photography, providing clear, actionable steps for beginners and enthusiasts alike. Embrace your digital camera’s potential—experiment with settings, subject matter, and techniques. With practice, you’ll capture stunning sequences that tell captivating stories. Don’t wait; start shooting today!
February 1, 2025 at 9:23 PM

Michael Robinson
Thank you for your thoughtful comment! I’m glad you found the article helpful and inspiring. Happy shooting!
Ivan McGhee
Excited to try time-lapse photography now!
January 28, 2025 at 1:13 PM

Michael Robinson
That's awesome! Enjoy experimenting with time-lapse photography!
Reese Russell
Ah, time-lapse photography—because who doesn’t want to spend hours capturing a sunset just to watch it in 30 seconds? Truly, a thrilling use of time!
January 23, 2025 at 9:34 PM

Michael Robinson
Time-lapse photography captures the beauty of moments that would otherwise go unnoticed, transforming hours into a captivating experience in just seconds!
Loretta McKellar
Unlock your creativity with time-lapse photography! Embrace the magic of capturing moments and transformations. Your digital camera is a powerful tool—let your imagination soar and inspire others!
January 20, 2025 at 9:45 PM

Michael Robinson
Thank you! Time-lapse photography truly transforms everyday moments into compelling stories. I'm excited to inspire others to explore their creativity with this technique!
Zephyros Wilcox
Great tips! Time-lapse photography can transform ordinary scenes into captivating visual stories effortlessly.
January 18, 2025 at 3:56 AM

Michael Robinson
Thank you! I'm glad you enjoyed the tips. Time-lapse truly does bring a unique perspective to everyday moments!
Sylvia Gomez
Time-lapse photography: where you can capture a sunset in just a few clicks, but your friends still think it’s just a fancy way to take a nap!
January 12, 2025 at 3:37 AM

Michael Robinson
Great point! Time-lapse photography may seem effortless, but it can create stunning visuals that showcase the beauty of nature in a unique way.
Selah McLaurin
Great tips on mastering time-lapse photography! I especially appreciated the section on selecting the right interval settings for different subjects. For beginners, testing various durations can help find the perfect balance. Also, consider using a sturdy tripod for stability. Looking forward to trying these techniques out!
January 6, 2025 at 3:39 AM

Michael Robinson
Thank you for your feedback! I'm glad you found the tips helpful. Happy shooting!
Veda McAnally
Excited to explore time-lapse possibilities!
December 31, 2024 at 7:55 PM

Michael Robinson
Thanks! Excited for you to start creating amazing time-lapse projects!
Arlo Sharp
Transform fleeting moments into captivating stories—time-lapse photography turns your digital camera into a visual time machine!
December 27, 2024 at 11:54 AM

Michael Robinson
Thank you! Time-lapse photography truly does allow us to capture and share the beauty of time in unique ways. Excited to explore this technique with everyone!
Dominique Walker
This article effectively demystifies time-lapse photography, offering practical tips that enhance both technique and creative expression.
December 26, 2024 at 5:40 AM

Michael Robinson
Thank you for your kind words! I'm glad you found the article helpful for enhancing your time-lapse photography skills.
Verity Jenkins
Great tips for stunning time-lapse shots!
December 25, 2024 at 1:44 PM

Michael Robinson
Thank you! I'm glad you found the tips helpful for capturing stunning time-lapse shots!
Archer McEachern
I'm intrigued by time-lapse photography! What are some common mistakes beginners make, and how can I avoid them for the best results?
December 25, 2024 at 5:07 AM

Michael Robinson
Common mistakes beginners make in time-lapse photography include improper interval settings, inconsistent exposure, and neglecting to use a sturdy tripod. To avoid these issues, ensure your intervals match the desired motion speed, use manual settings for consistent exposure, and stabilize your camera for sharp images.
Aaron McKibben
Great insights! Time-lapse photography is a fantastic way to capture the passage of time. Can't wait to try these techniques myself!
December 24, 2024 at 9:30 PM

Michael Robinson
Thank you! I'm glad you found the insights helpful. Enjoy experimenting with time-lapse photography!
Sloane Carr
Capture moments, unleash your creativity! 📸✨
December 24, 2024 at 4:10 AM

Michael Robinson
Absolutely! Time lapse photography is a fantastic way to capture moments and express creativity. Happy shooting! 📸✨
Rune Phelps
Great article! I appreciate the clear explanations and practical tips for using digital cameras for time-lapse photography. This will definitely help both beginners and seasoned photographers enhance their skills. Looking forward to trying out these techniques! Thank you for sharing!
December 23, 2024 at 8:44 PM

Michael Robinson
Thank you for your kind words! I'm glad you found the article helpful. Enjoy experimenting with time-lapse photography!
Selkie McClellan
Great tips! Time-lapse made easy!
December 23, 2024 at 1:33 PM

Michael Robinson
Thank you! I'm glad you found the tips helpful! Happy shooting!
Alyssa McEvoy
This article provides an insightful guide to mastering time-lapse photography with digital cameras. It effectively highlights key techniques, such as interval settings and post-processing tips, while encouraging creativity. Emphasizing the importance of planning and patience, it inspires both beginners and seasoned photographers to experiment with this captivating art form.
December 22, 2024 at 1:00 PM

Michael Robinson
Thank you for your thoughtful comment! I’m glad you found the guide helpful and inspiring for both beginners and seasoned photographers. Happy shooting!
Russell Robinson
Great tips! Time-lapse photography opens up a whole new world of creativity. I can’t wait to try these techniques with my camera—thanks for making it so accessible!
December 19, 2024 at 12:02 PM

Michael Robinson
Thank you! I'm glad you found the tips helpful. Enjoy exploring time-lapse photography—it's a fantastic creative outlet!
Zealot McNeil
This article effectively outlines the essential steps for capturing captivating time-lapse sequences with a digital camera. It emphasizes camera settings, interval management, and post-processing techniques, making it accessible for beginners while offering valuable insights for more experienced photographers.
December 18, 2024 at 5:02 AM

Michael Robinson
Thank you for your feedback! I'm glad you found the article helpful for both beginners and experienced photographers. Happy shooting!
Faryn Turner
Time-lapse photography transforms mundane moments into captivating narratives. Mastering exposure settings and interval timing is crucial for stunning results. Experiment with lighting and movement to enhance your scenes, and don’t forget to stabilize your camera for the best quality. Happy shooting!
December 17, 2024 at 9:00 PM

Michael Robinson
Thank you for your insightful comment! Absolutely, mastering those techniques is key to creating stunning time-lapse videos. Happy shooting!
MORE POSTS

How Virtual Reality is Empowering Remote Work in the Digital Age

Battle of the Tablets: Which One Is Worth Your Investment?

The Intersection of Robotics and Wearable Tech

The Intersection of Wearable Devices and Personal Security

In-Ear vs. Over-Ear: Which Type of Headphones Suits You Best?

Exploring the Ethical Dilemmas of Virtual Reality in the Justice System

Innovations in Hydroelectric Power: A New Era of Energy

The Evolution of Robot Companions in the Digital Age

Smart Water Bottles and Hydration Gadgets for Travelers

How Virtual Reality is Shaping the Future of Real Estate Tours

The Best Tools for Creating Interactive Content

Best Practices for Implementing Real-Time Features in Apps

Smart Backpacks: The Future of Travel and Tech Storage